
OPENetworks FTTN (VDSL2) configuration for FRITZ!Box routers
This guide is suitable for FRITZ!Box 7490, 7390, and 7360 routers using the latest FRITZ!OS firmware. Please note that the FRITZ!Box 7272 is not VDSL2 compatible.
What we'll cover:
- Connecting cables
- How to log into your FRITZ!Box
- Setting the language, region, and password for your FRITZ!Box
- Using the setup wizard to configure your OPENetworks FTTN (VDSL2) connection
If you purchased your FRITZ!Box from Internode as part of a new broadband service, we've already configured your username, password, and other settings. In this case, simply follow the cabling setup section below, then test your connection.
Not what you're looking for? Try the FRITZ!Box guides for NodePhone VoIP, or WiFi configuration.
FRITZ!Box Cable Setup
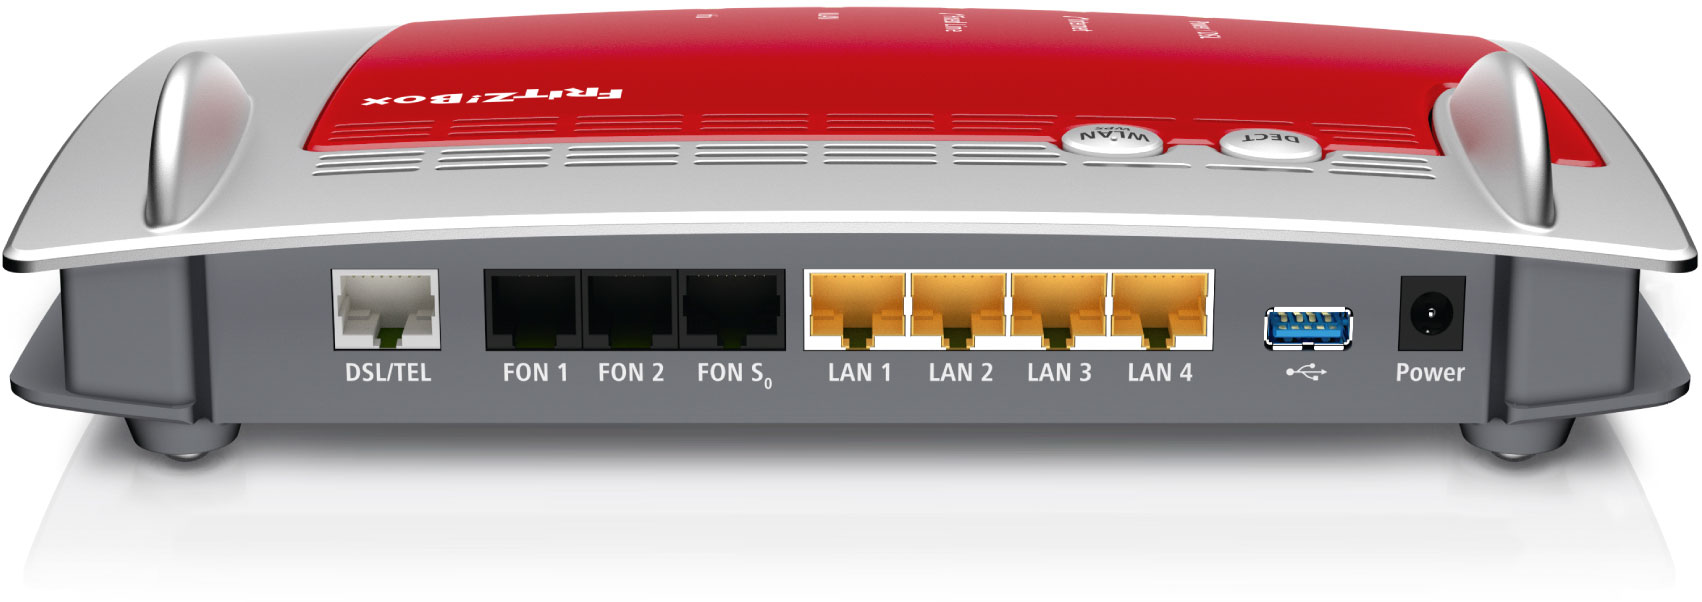 |
| Figure 1: The ports on a FRITZ!Box 7490 router. These ports are the same on the 7390, 7272, and 7270. |
The FRITZ!Box uses a RJ45-style connection for the DSL/TEL port on the back of the device. Each unit includes an all-in-one version of the 'Y' cable without separate adapters. If you have a FRITZ!Box 7360 it will be a straight cable, as the 7360 does not support landline phone calls.
NOTE: Initial shipments of FRITZ!Box units had RJ45 plugs on the included 'Y' splitter. RJ45 to RJ11 adapters are included and must be used to connect the 'Y' cable to your wall socket.
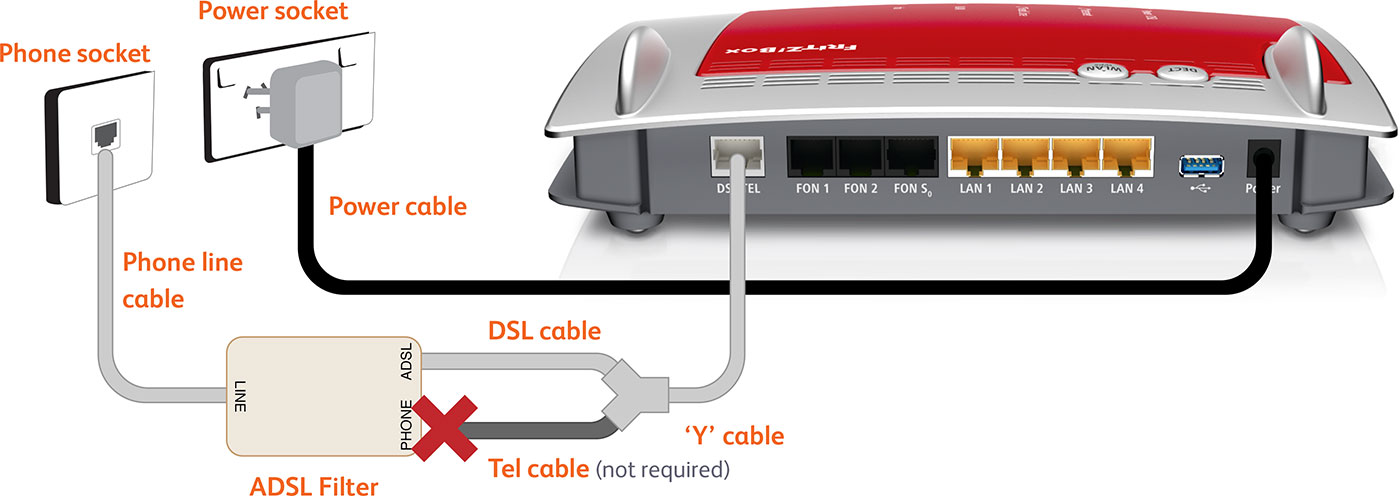 |
| Figure 2: Typical cabling for a FRITZ!Box 'Y' cable |
- Connect the larger (RJ45) end of the 'Y' cable to the DSL/TEL port on the router.
- Connect the small, grey end of the 'Y' cable (labelled DSL) to the telephone port on the wall.
- Connect one end of the supplied Ethernet cable to the network port on your computer. Connect the other end to one of the LAN ports on the back of the router.
- Connect the power supply to the back of the router, and plug it into your 240v power outlet.
- Switch on the router.
Setting the language, region, and password for your FRITZ!Box
The following steps only apply if your FRITZ!Box is not already configured, or if it has been reset to factory default settings.
If you purchased your FRITZ!Box from Internode, your router has been pre-configured. Simply follow the cabling steps above to set up your OPENetworks FTTN (VDSL2) broadband service.
Step 1
- Make sure that your computer is connected to the FRITZ!Box - either with an Ethernet cable, or over a wireless network.
- Open your preferred web browser, for example: Internet Explorer, Google Chrome, or Mozilla Firefox.
- Enter the following number into the address bar and then hit Enter on your keyboard:
- 192.168.178.1 (this number is called an IP Address).
 |
| Figure 3: Entering the IP address to access the router |
Step 2
- The Language Selection screen will appear.
- Select English from the list, then click Next.
 |
| Figure 4: Setting your FRITZ!Box language |
Step 3
- The Regional Settings screen will appear.
- Select Australia from the drop-down menu.
- Select your state from the Time Zone drop-down, then click Next.
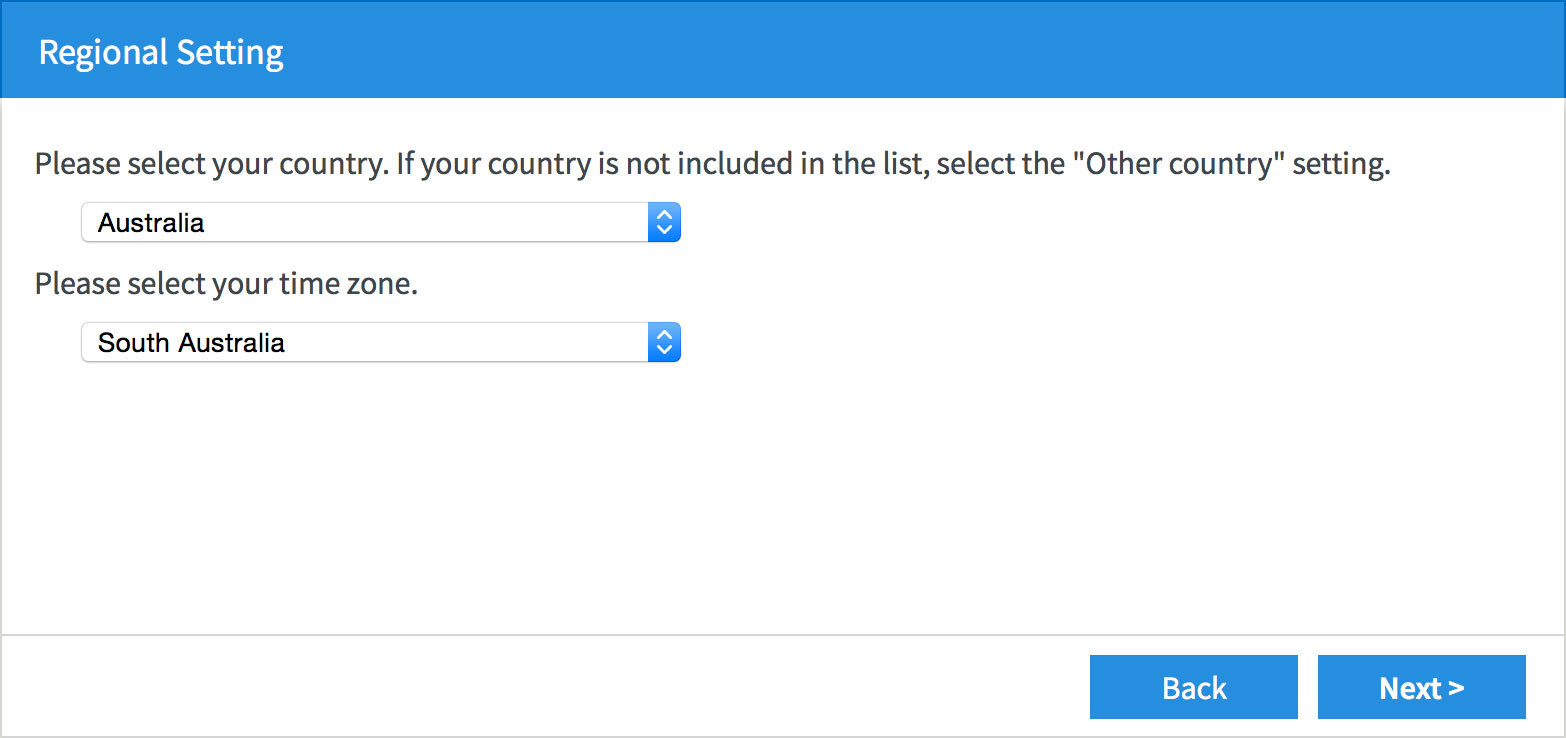 |
| Figure 5: Setting your FRITZ!Box regional settings |
- The modem will save your settings and reboot. This may take around two minutes.
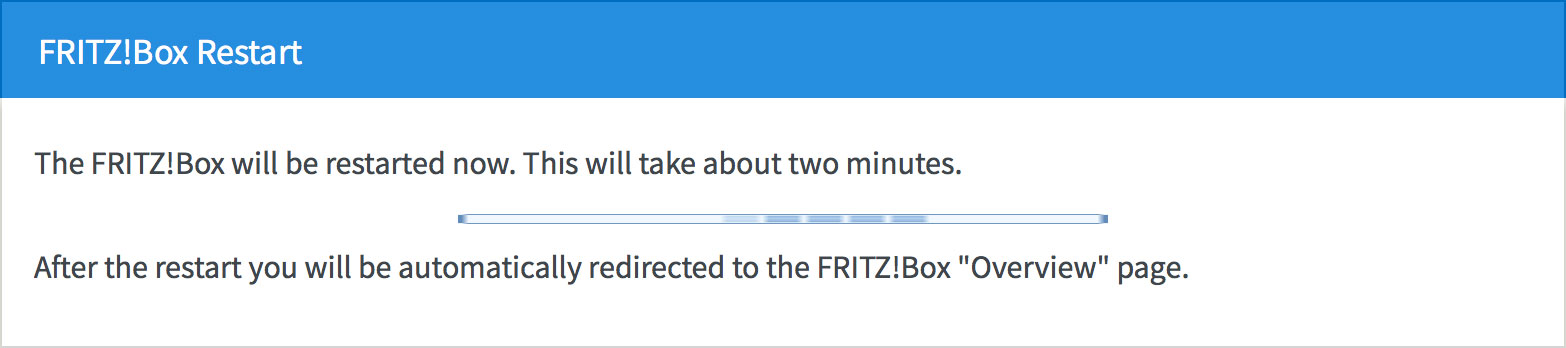 |
| Figure 6: The FRITZ!Box rebooting screen |
Step 4
- The wizard will ask you to create an Administrator Password. You will need this password in future when you try to log in to your FRITZ!Box router.
- Make sure that the Set FRITZ!Box password now (recommended) check-box is selected.
- Enter your chosen password into the FRITZ!Box password box.
- Click OK to save your password.
Please make a note of your new Administrator Password, as Internode will not be able to provide it to you if it is lost or forgotten.
If you forget the password, you will need to factory reset your FRITZ!Box before you can access the user interface.
You can reset the FRITZ!Box to factory settings by clicking Forgot your password? and then Restore Factory Settings at the login screen (see Step 5 below). Please note that this will overwrite all of your settings.
Once you have reset your FRITZ!Box to factory settings, you will have to restart this wizard from the beginning.
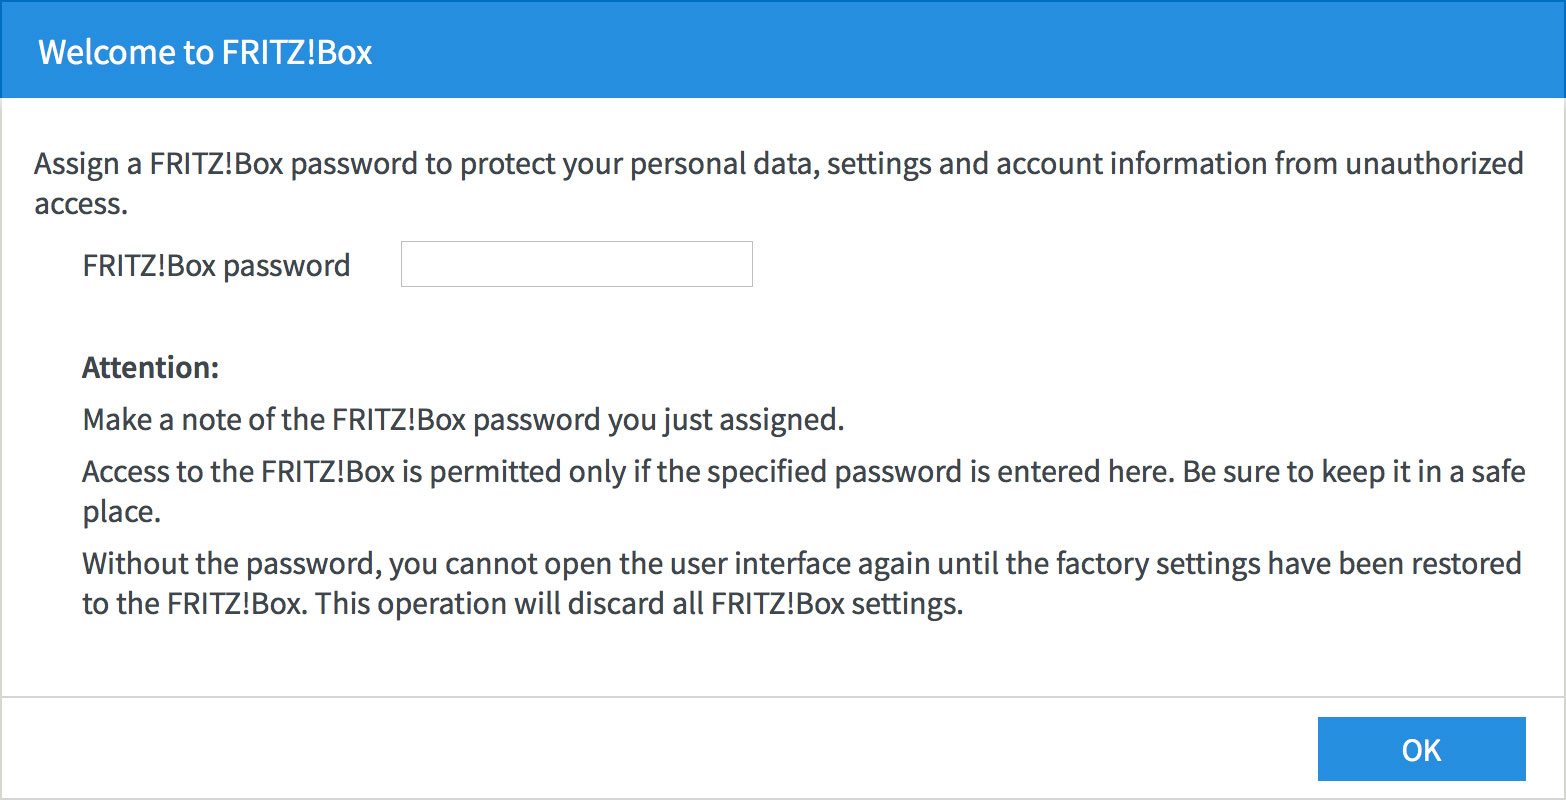 |
| Figure 7: Creating an Administrator password for your FRITZ!Box |
Using the setup wizard to configure your Internet connection
Step 1
- The router will display a welcome screen. Click Next.
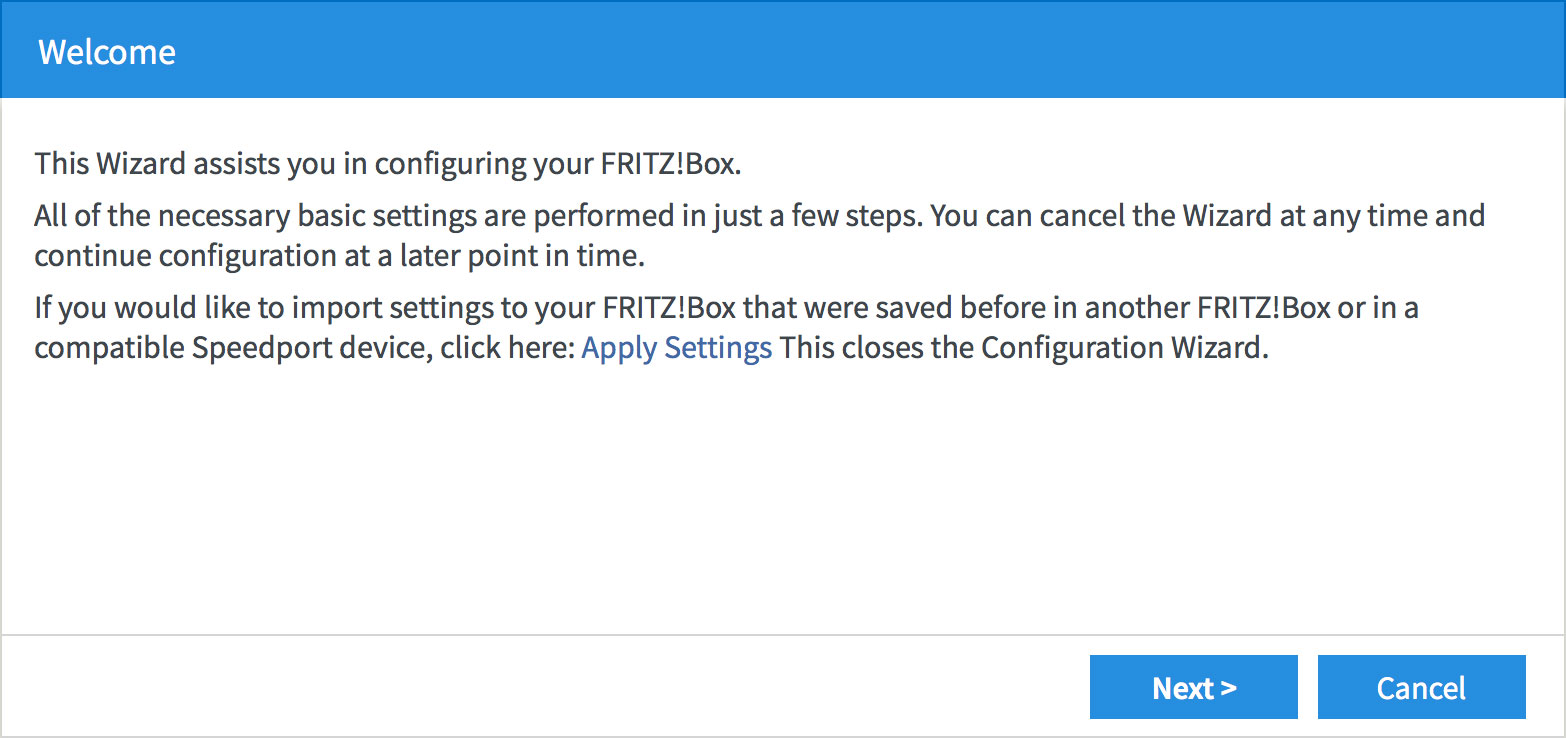 |
| Figure 9: The setup wizard welcome screen |
Step 2
- The wizard will ask you to select your Internet Service Provider.
- Select Other Internet Service Provider from the drop down menu.
- Type Internode into the Name field.
- Click Next to continue the wizard.
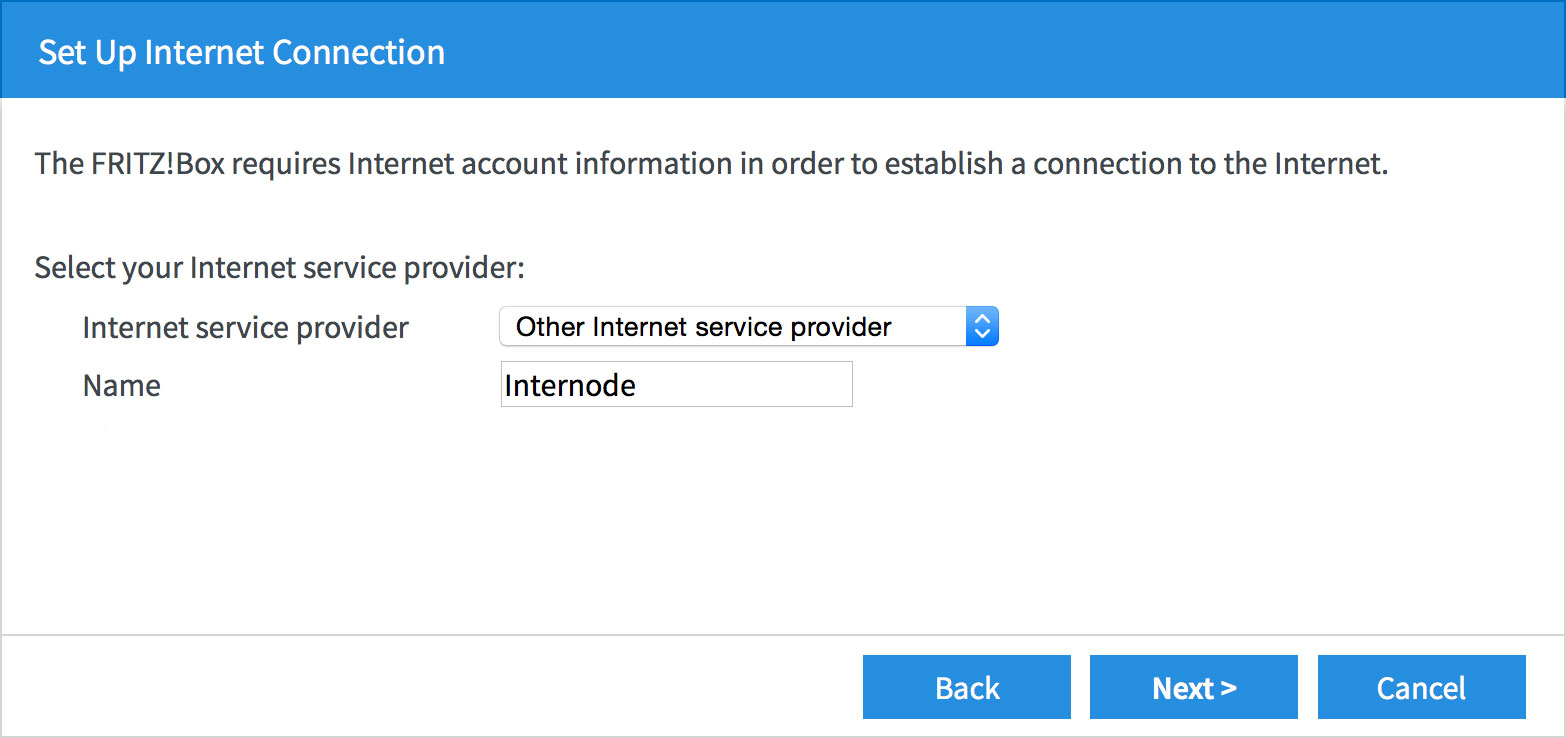 |
| Figure 10: Selecting your ISP |
Step 3
- The wizard will ask what kind of connection you have.
- Select Connecting to a DSL line.
- Click Next to continue.
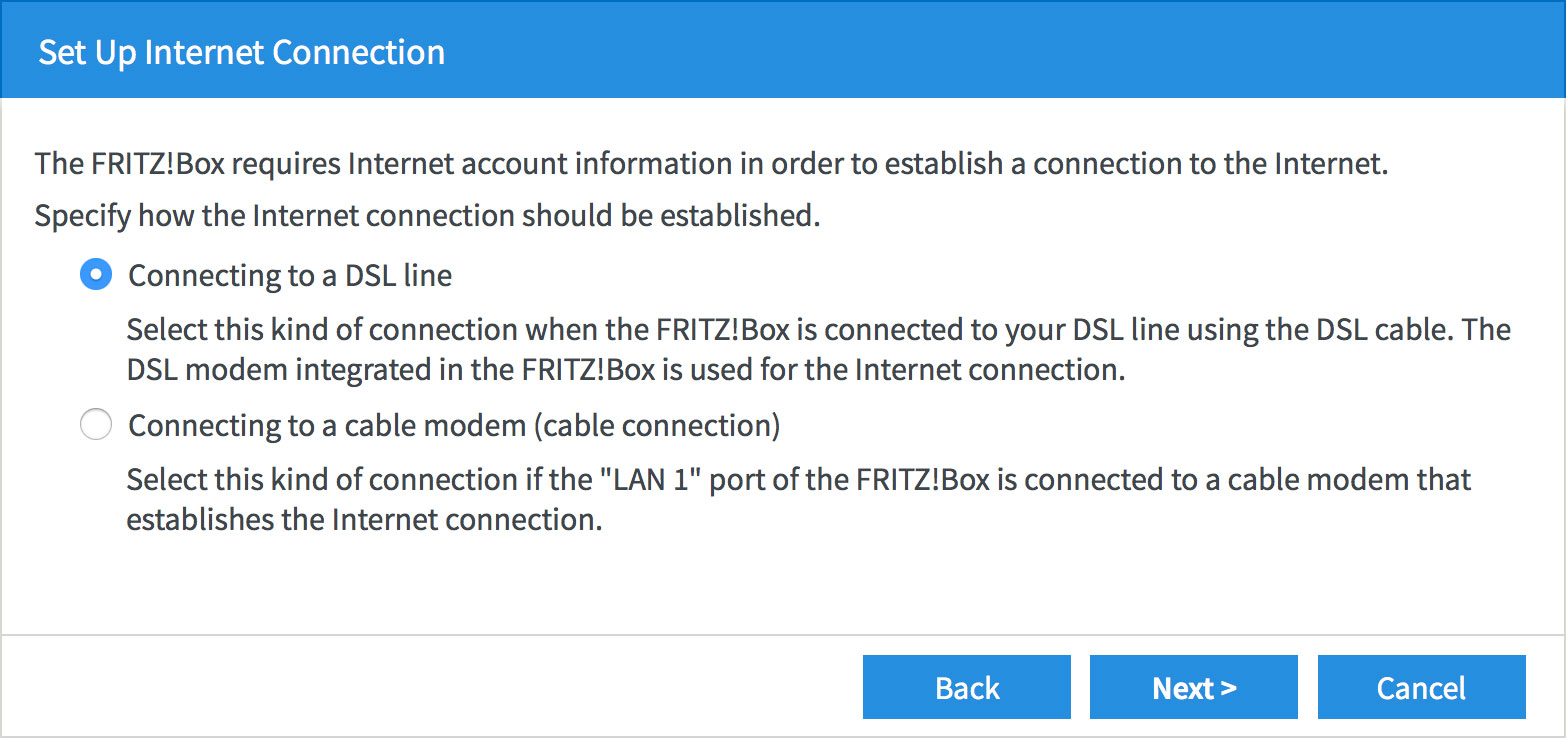 |
| Figure 11: Selecting the kind of connection you have |
Step 4
- The wizard will ask for your Internode connection details.
- Enter your Internode username into the User name field, that is, username@internode.on.net.
NOTE: If your username does not include @internode.on.net you will be unable to connect. - Enter your Internode password into the Password field. If you've forgotten your password, you can retrieve it with our Password Retrieval tool.
- Click Next to continue.
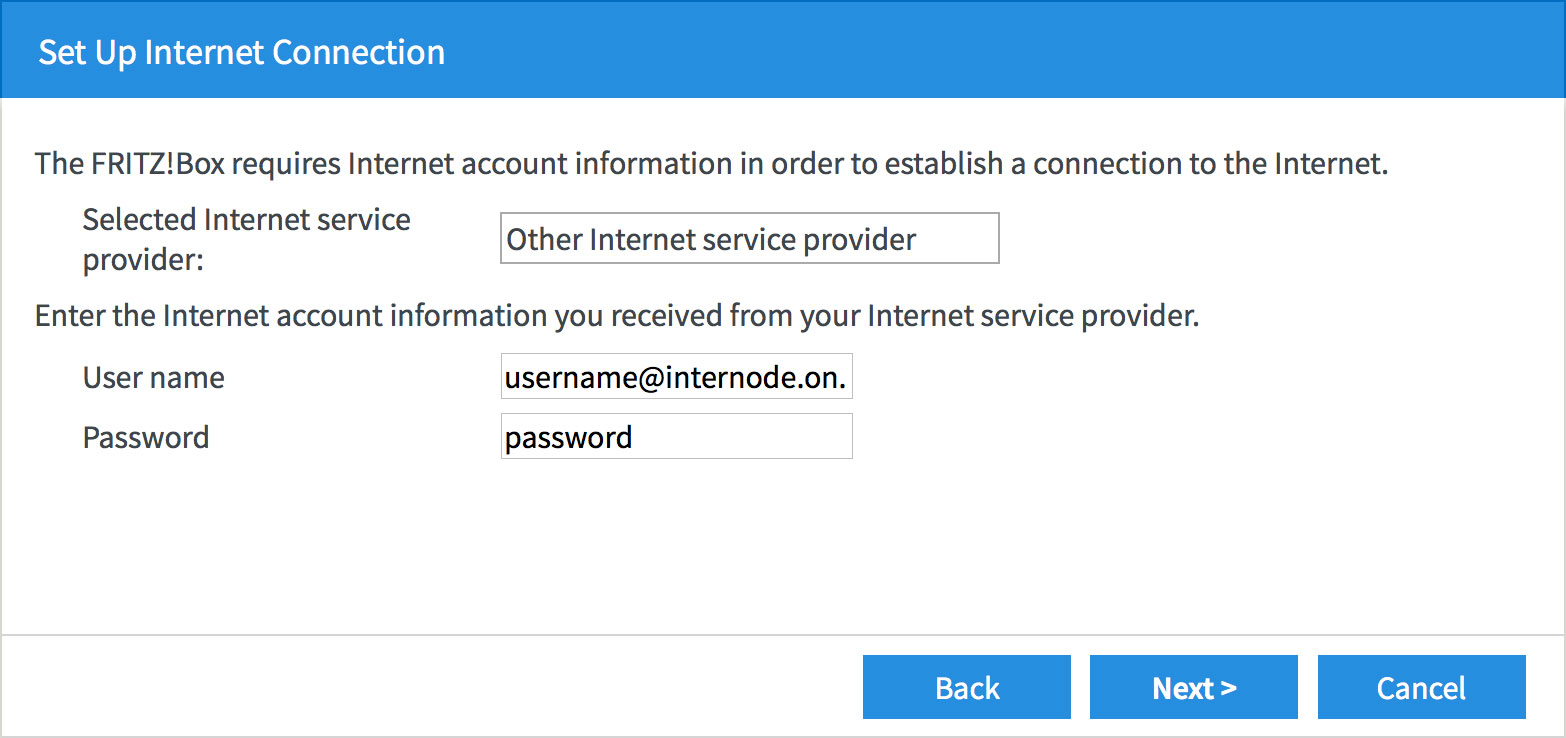 |
| Figure 12: Entering your Internode login information |
Step 5
- The wizard will ask you to confirm your settings.
- If all the settings are correct, press Next to continue.
- If the settings are not correct, press Back to make any necessary corrections.
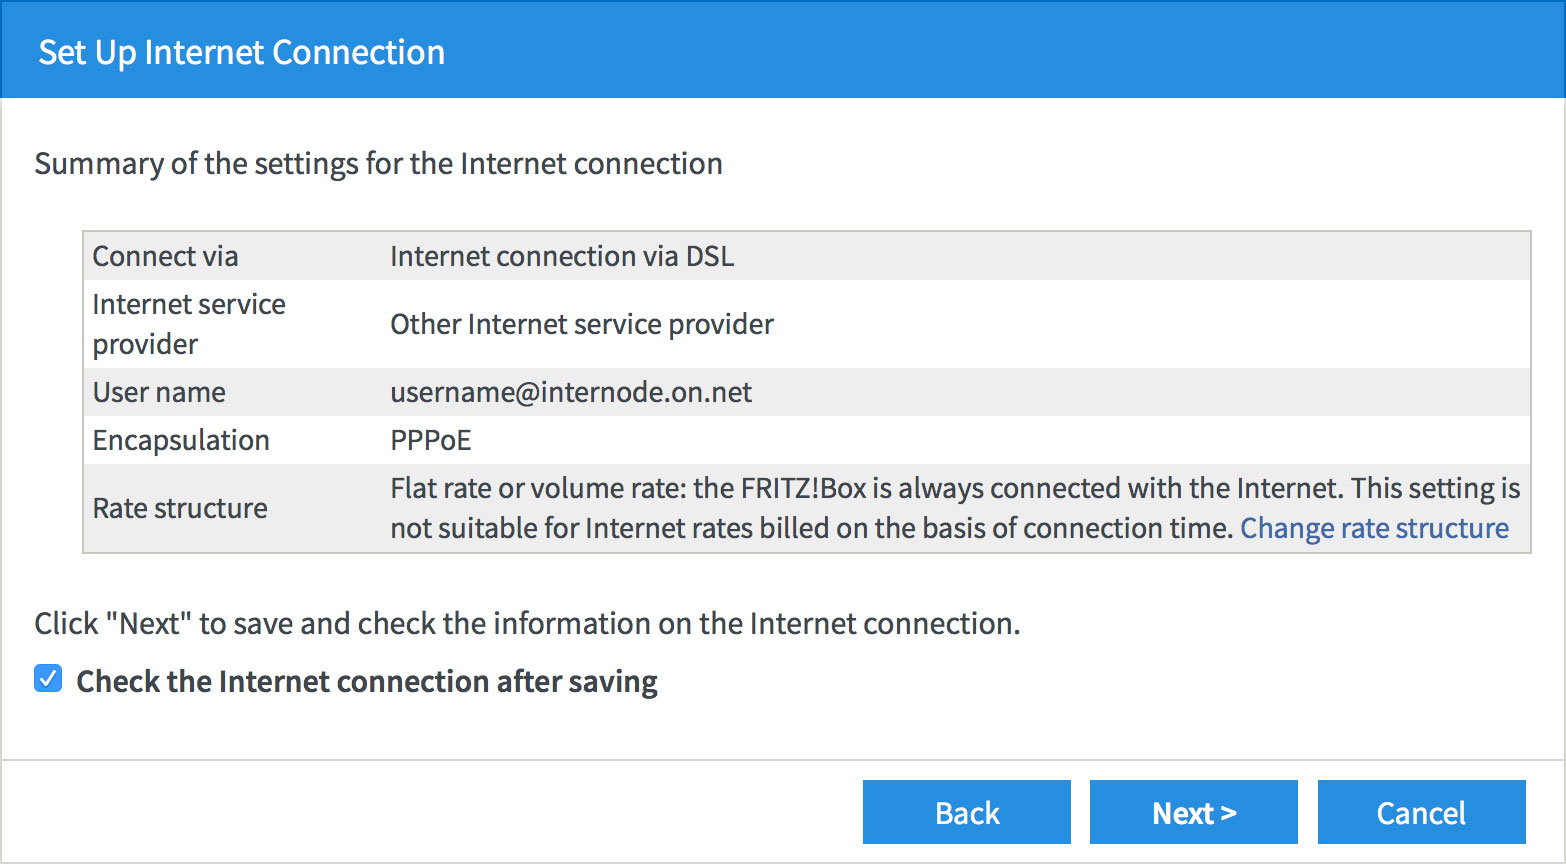 |
| Figure 13: Checking your connection settings |
Step 6
- The FRITZ!Box will save your settings. This may take a few minutes.
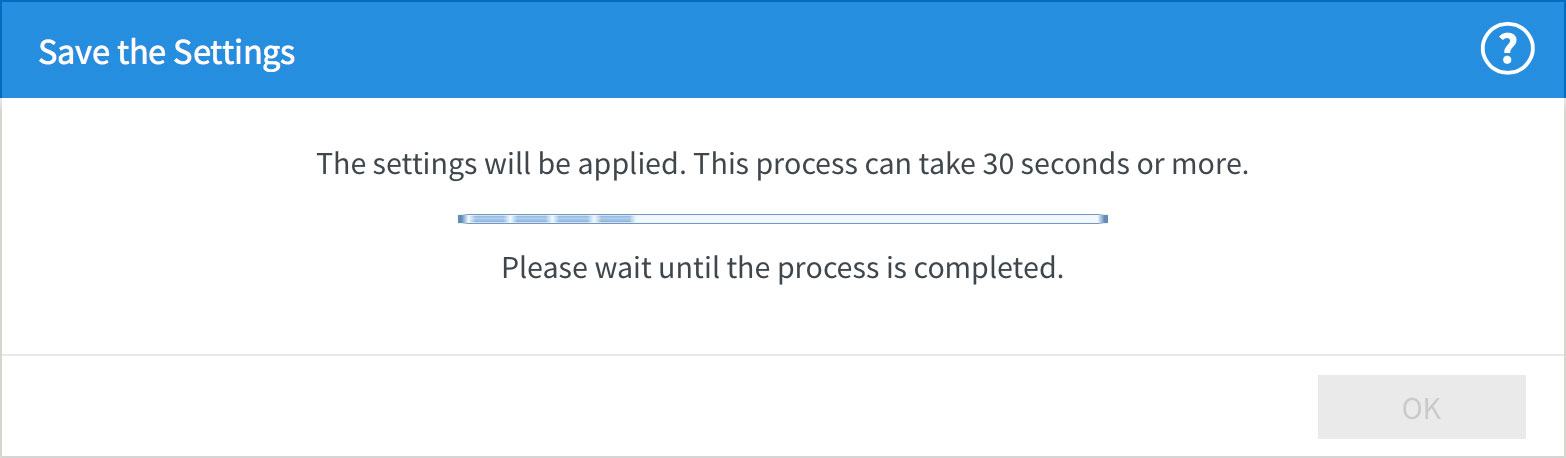 |
| Figure 13: Saving your account settings |
Step 7
- The FRITZ!Box will test your internet connection. If successful, click Next.
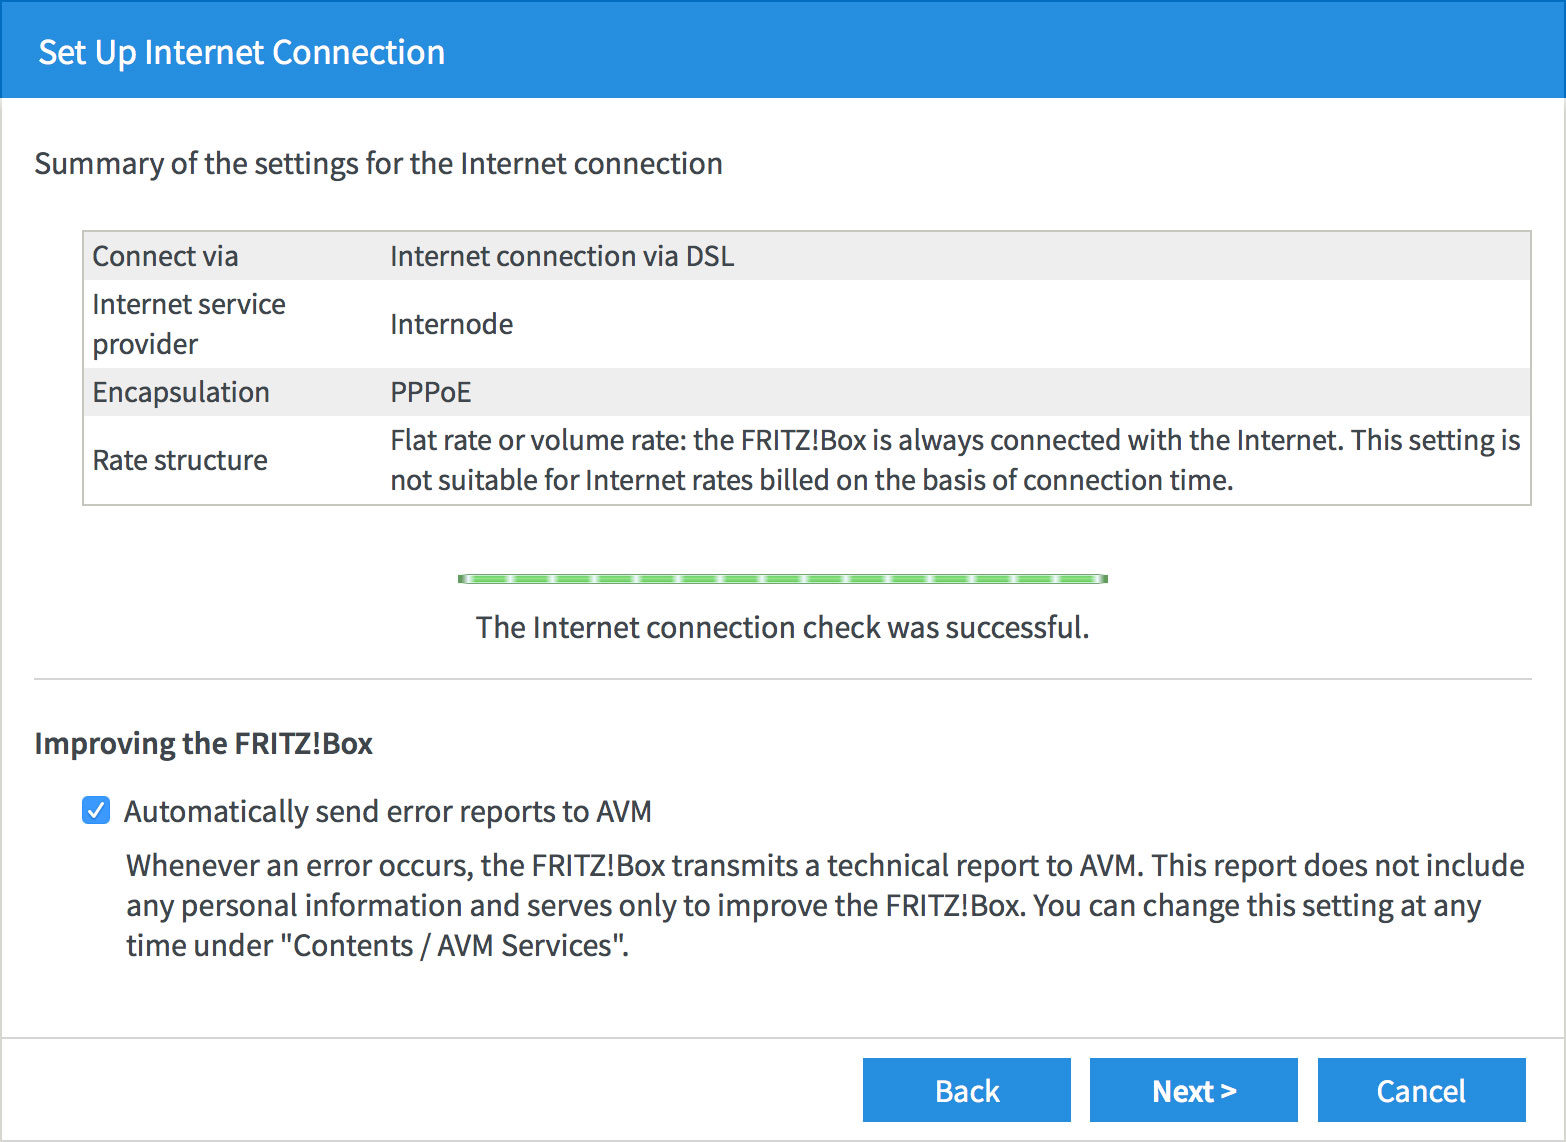 |
| Figure 14: A successful Internet test |
Step 8
- The basic Internet setup has been completed. Click Cancel to end the wizard.
- Click Exit Wizard to confirm that you'd like to end the wizard.
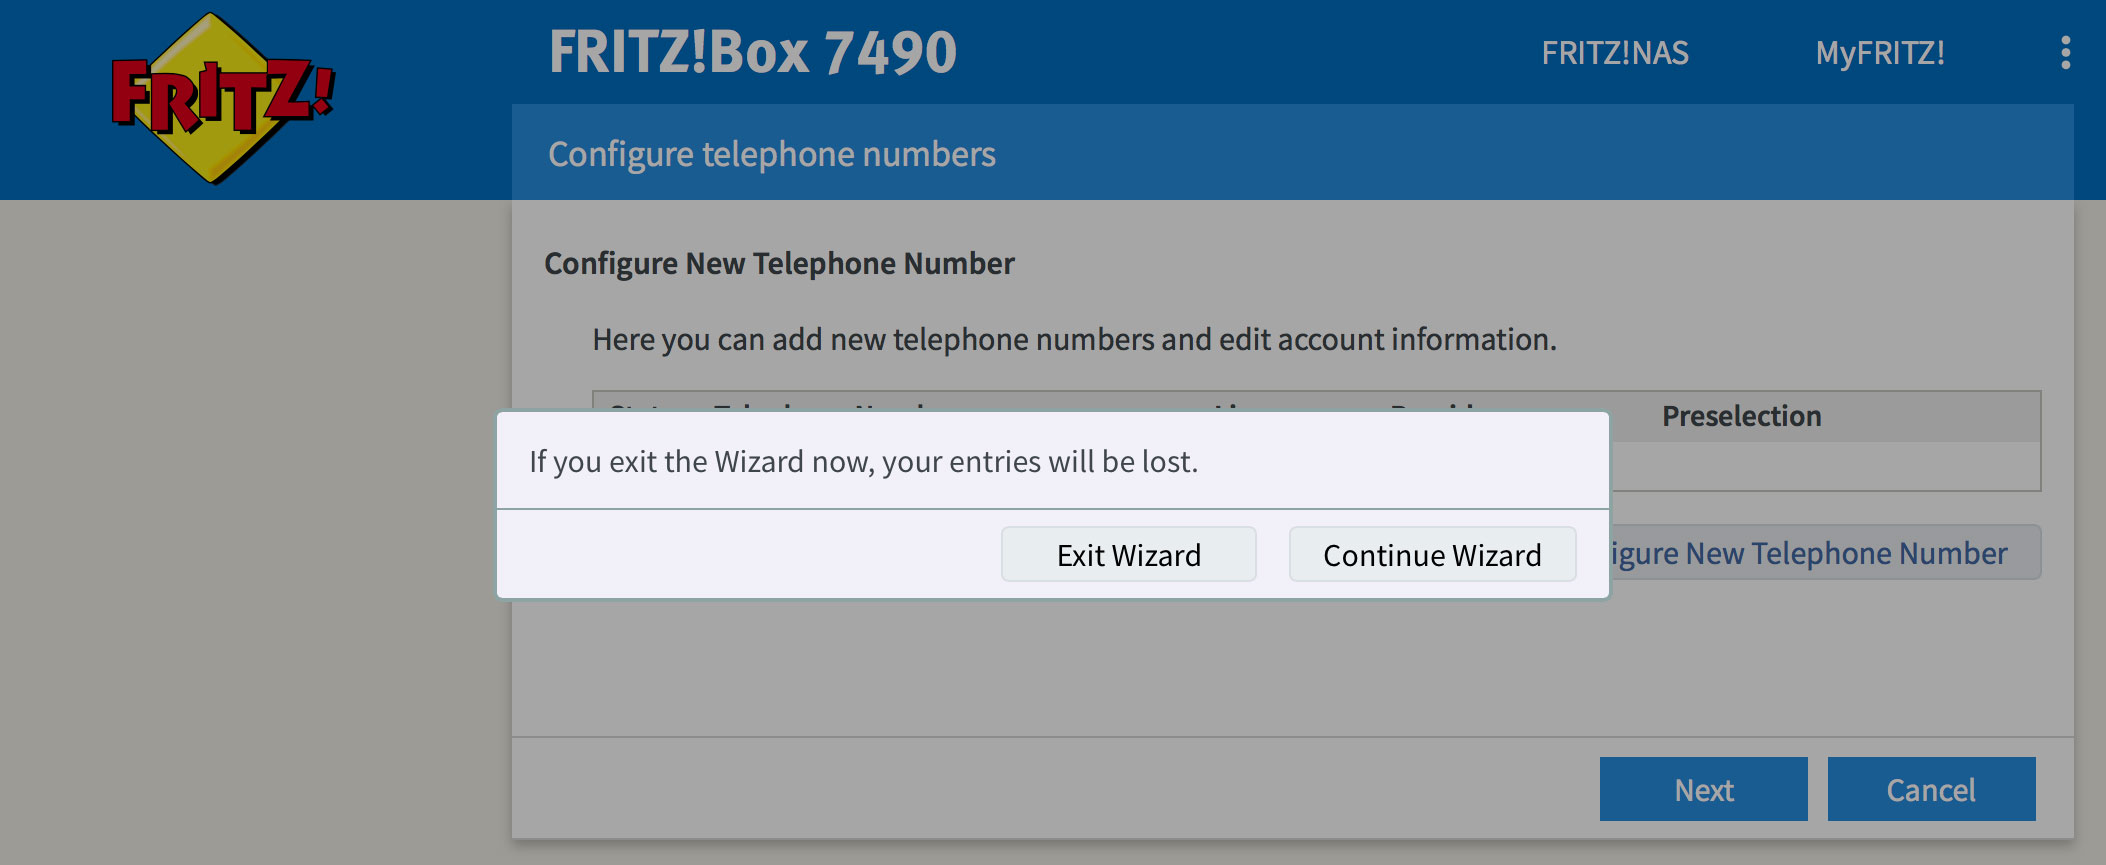 |
| Figure 15: The end of the Internet Connection wizard |
Step 9
- Click View: Standard at the bottom-right of the screen. This will change the view to Advanced so you can finish configuring your connection.
 |
| Figure 16: Toggling the FRITZ!OS View mode |
Step 10
- Click the Internet link in the menu to the left of the screen. Further options will appear underneath.
- Click Account Information.
- Scroll down to the bottom of the screen and click Change connection settings. Further options will appear underneath.
- Un-tick the check-box next to Delay disconnection by provider to the period between.
- Click Apply to save your settings.
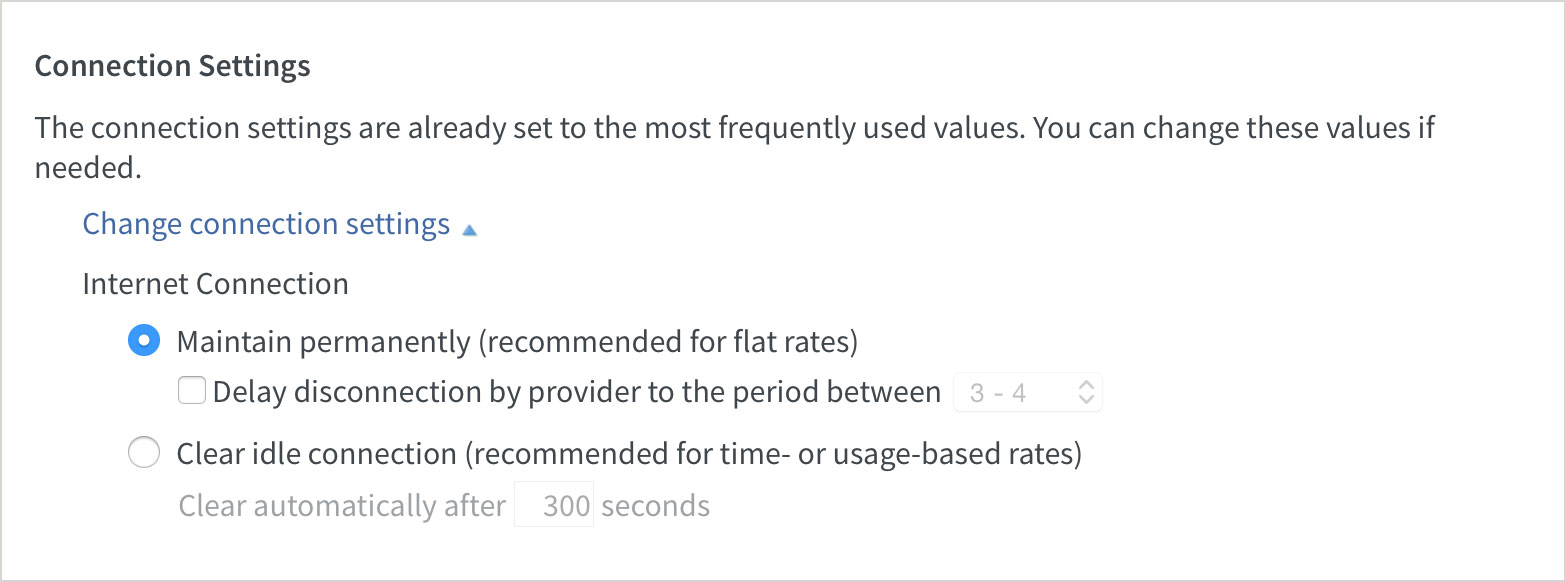 |
| Figure 17: Advanced connection settings |
Congratulations! You have successfully configured your OPENetworks FTTN (VDSL2) connection.
Further Assistance
If you're looking to also set up your NodePhone VoIP or Wireless service, please refer to our other guides:
If you are having trouble setting up your router, or would like to clarify some of the steps, please contact our Support Team.
If you'd like to set up a Virtual Private Network (VPN), or other advanced features, please see these pages on AVM International's website:
Please note that our Support Team cannot provide assistance with VPNs, Port Forwarding, or other advanced features.