
WiFi Configuration for FRITZ!Box Routers
This guide is suitable for FRITZ!Box 7490, 7390, 7360, and 7272 routers using the latest FRITZ!OS firmware. You will also need an Ethernet cable to complete this guide.
What we'll cover:
- How to log in to your FRITZ!Box
- How to turn your router's wireless settings on (or off)
- How to secure your WiFi network so only people you allow may connect
Not what you're looking for? Try the FRITZ!Box guides for ADSL Setup or NodePhone VoIP.
FRITZ!Box routers have WiFi turned on by default, with WPA2 encryption.
You can find the default password on the bottom of your FRITZ!Box. If you're happy to use this password, simply follow our Windows or Mac guides to connect your computer to the wireless network. However, if you'd like to change the password or other settings, please follow this guide.
If you will not be using the wireless network, we recommend you turn the wireless off for security reasons.
Configuring your WiFi Connection
Step 1
- Make sure that your computer is connected to your router with an Ethernet cable.
- Open your preferred web browser, for example: Internet Explorer, Google Chrome, or Mozilla Firefox.
- Enter the following number into the address bar and then hit Enter on your keyboard:
- 192.168.178.1 (this number is called an IP Address).
 |
| Figure 1: Entering the IP address to access the router |
Step 2
- The router will ask you for the administrative password. If you purchased your FRITZ!Box from Internode, your router has been pre-configured and the default password will be as follows:
| Password: | admin (FRITZ!OS 7.0 and earlier) admin123 (FRITZ!OS 7.01 and later) |
|---|---|
| This is the router's default password. We recommend that you change the password for security reasons. |
|
- Once you have entered the password, click Log In.
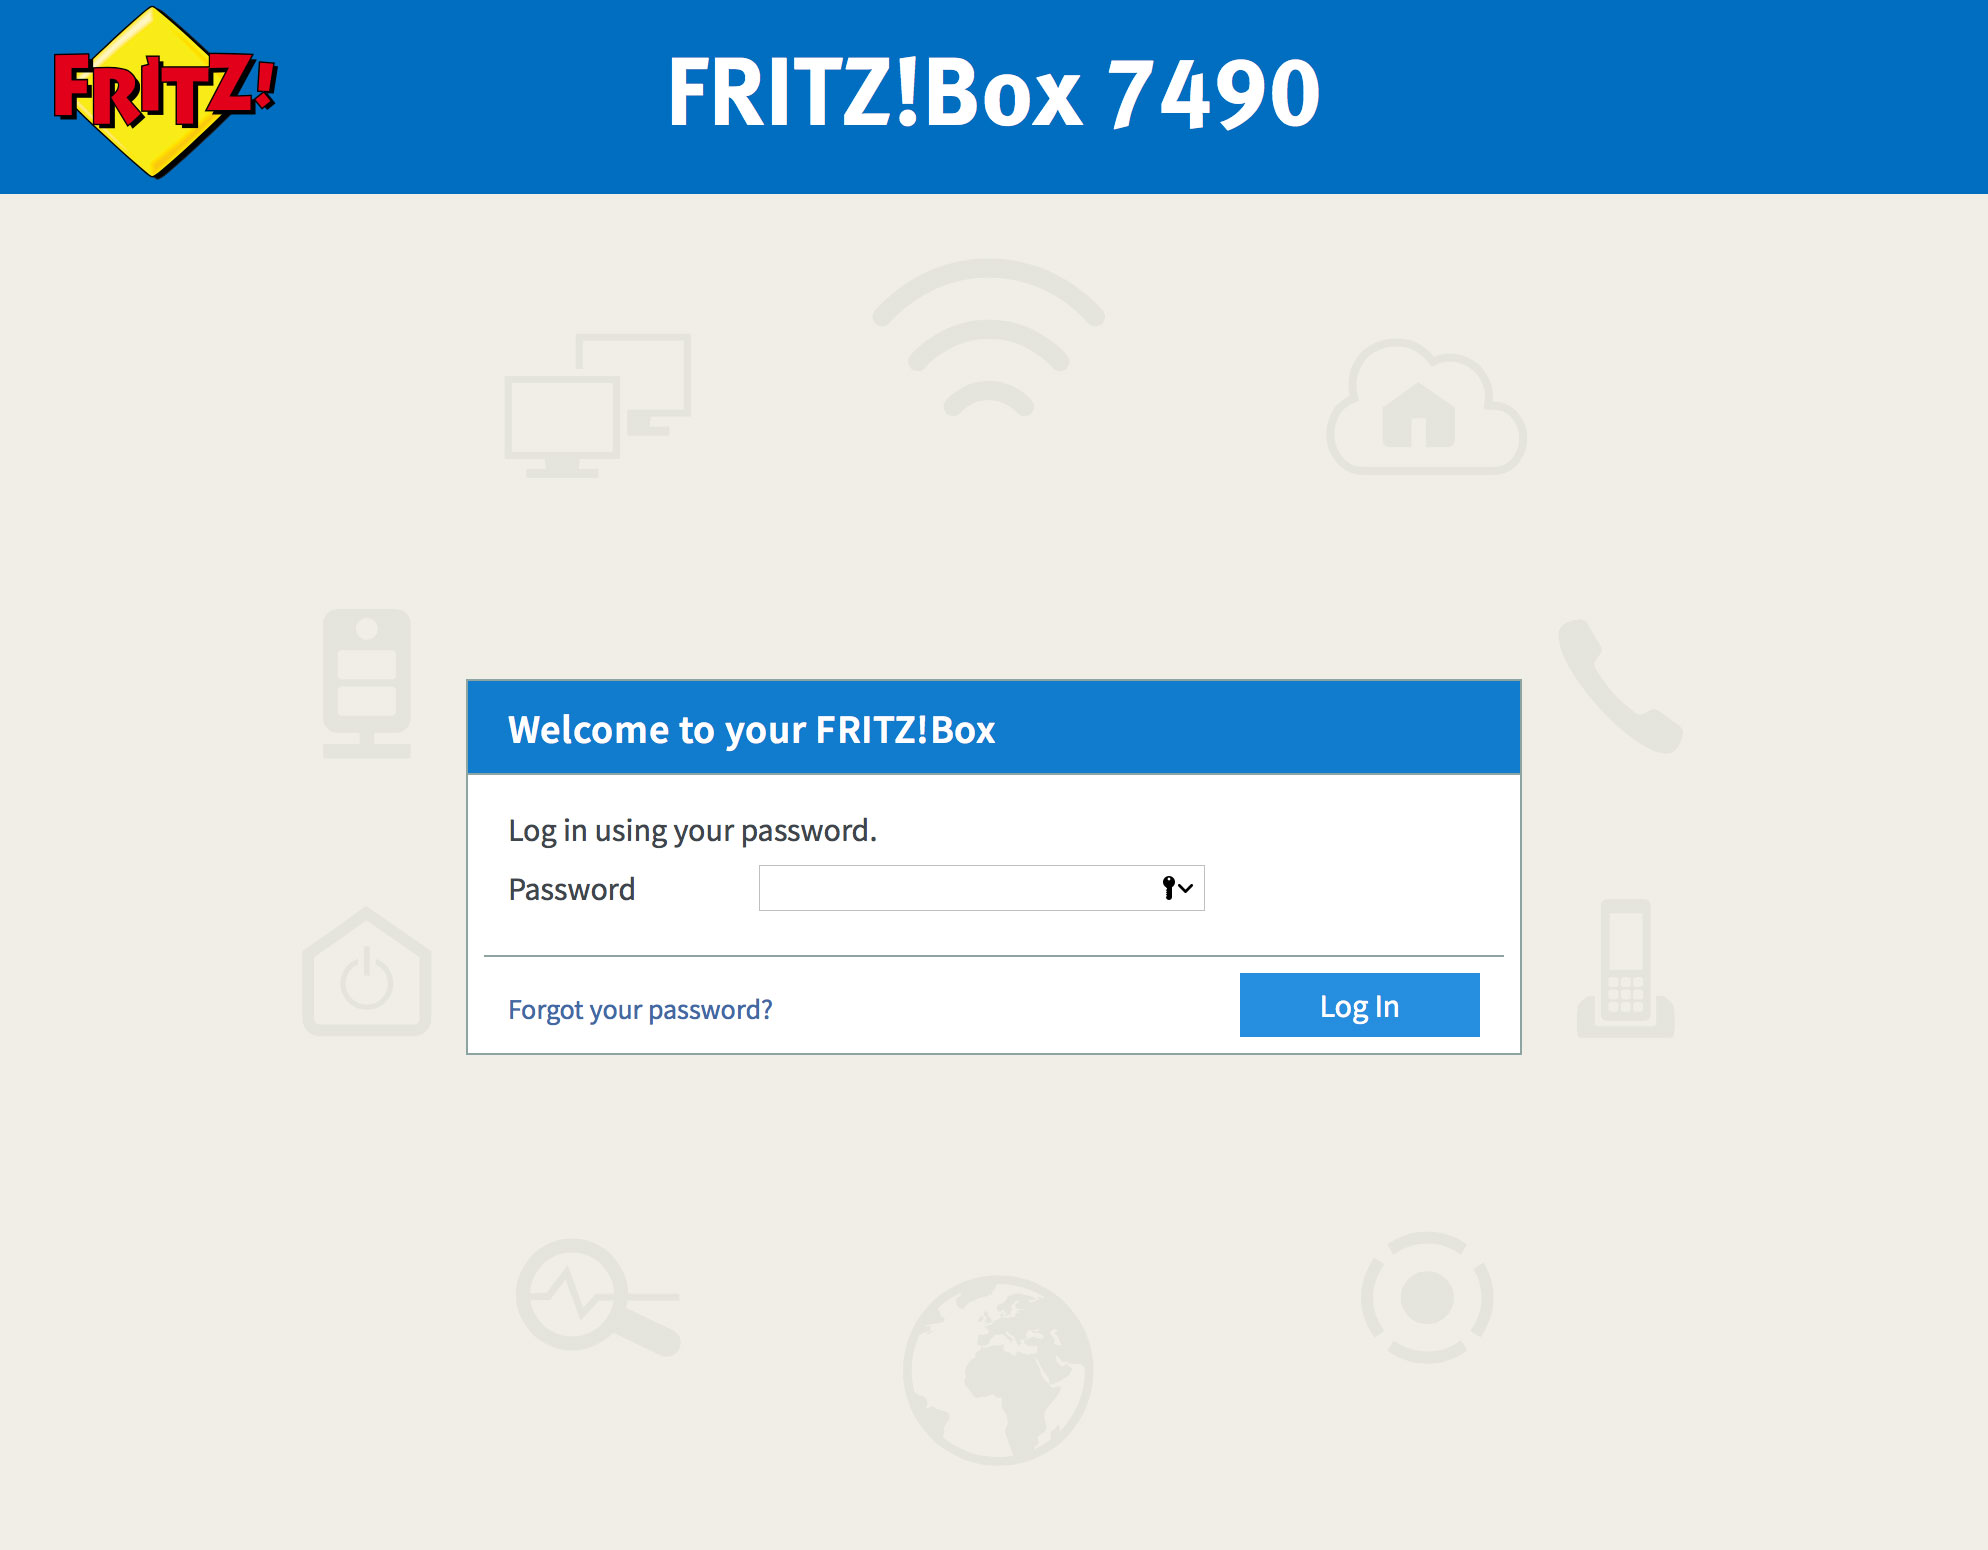 |
| Figure 2: The FRITZ!Box Log In screen |
If the default password does not work, it has likely been changed. If you do not know the password, you will need to factory reset your FRITZ!Box before you can access the user interface.
You can reset the FRITZ!Box to factory settings by clicking Forgot your password? and then Restore Factory Settings. Please note that this will overwrite all of your settings.
Once you have reset your FRITZ!Box to factory settings, you will be redirected to the setup wizard.
Step 3
- The FRITZ!Box page will be displayed. Click the Wireless link in the menu to the left of the screen. Further menu options will appear underneath. Click Radio Network.
- Click the Wireless radio network enabled check-box to enable your wireless network. If you will not be using the wireless network, make sure that this check-box is not selected. This will prevent unauthorised access to your wireless network.
- Create a name for your wireless network and enter this into the field labelled Name of the wireless radio network (SSID).
Creating a network name (SSID)
Your network name is used to identify your wireless network. This is particularly useful if there are other wireless networks nearby.
Because your network name will be visible outside of your home or office, the name should be recognisable but should not use any personal or service details.
- Bad Network Names:
BloggsFamily, JoeBloggs, 123JamesStreet, Internode, default, your Internode username, your router's name. - Good Network Names:
MyNetwork, HomeWireless, Homestead, Cookie Monster (be creative!)
- Once you have chosen a network name, click Apply to save the settings.
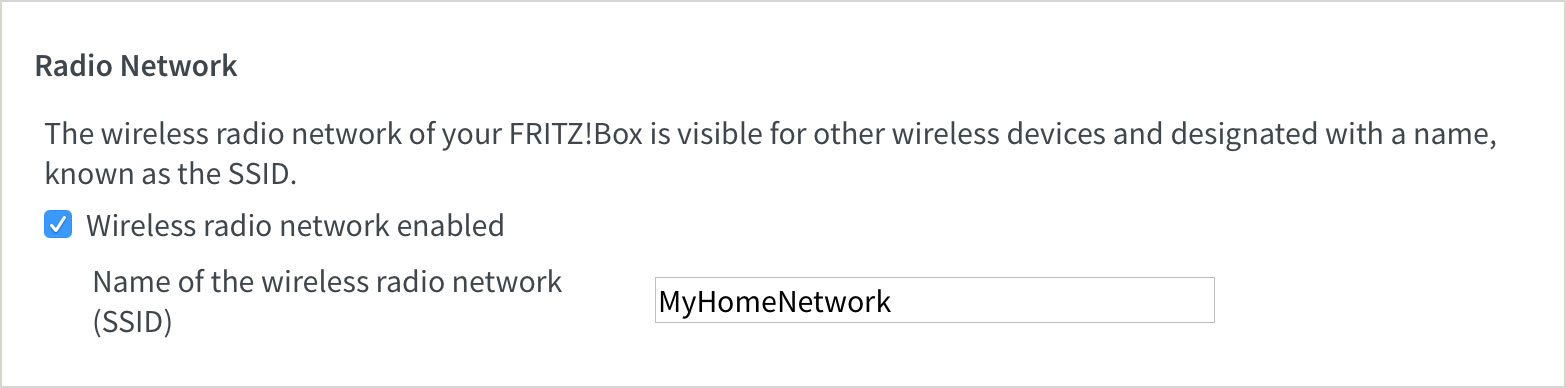 |
| Figure 3: Turning on and naming the wireless network |
Step 4
- Click Security at the left of the screen to secure your network.
- Ensure that WPA encryption is selected at the top of the screen.
- Under WPA mode ensure WPA2 (CCMP) is selected.
- Create a password that will be used to access your wireless network. Type your new password into the Network Key field.
Creating a Pre-shared Key (WiFi Password)
A Pre-shared key prevents people you don't know from accessing your WiFi network. When you connect your computers to your wireless network, you will be asked for the pre-shared key. If someone tries to connect without the pre-shared key, they will be unable to connect.
Your pre-shared key:
- must have a minimum of 8 alphanumeric characters
- is case sensitive
- should never be the same as your Internode password
We recommend you create a complex password for your pre-shared key.
- Once you have entered a password (network key), click Apply to save the settings.
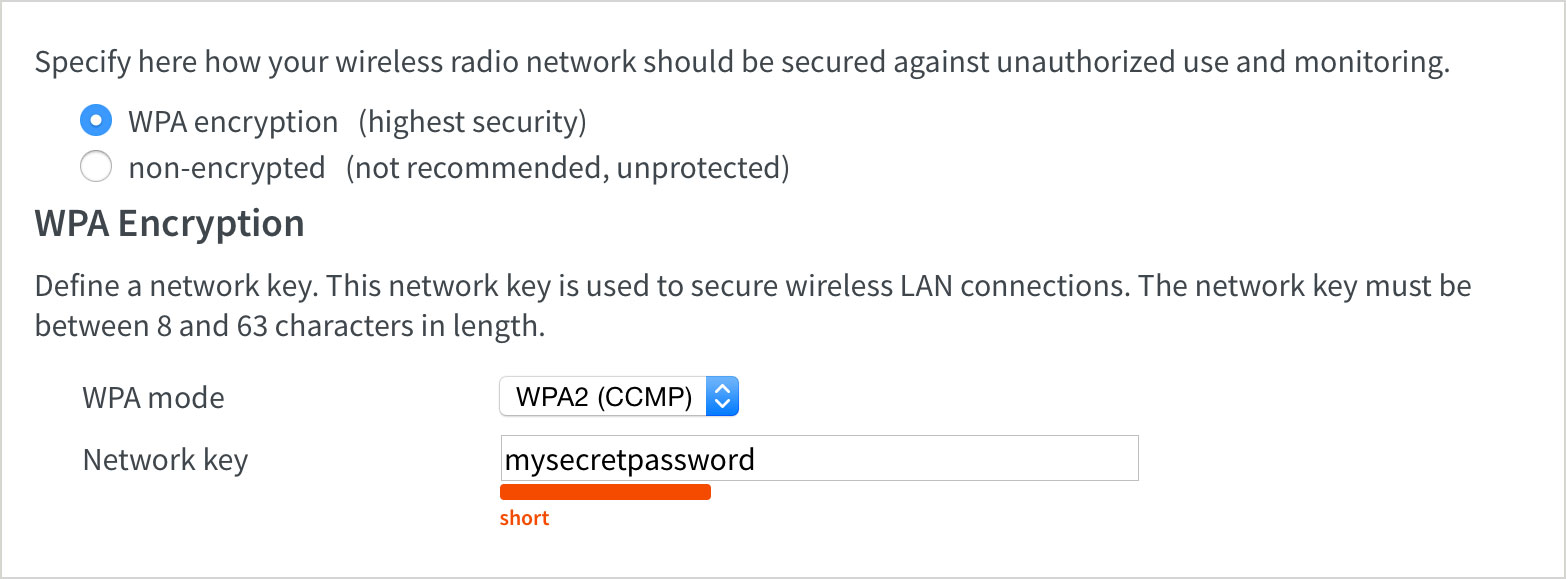 |
| Figure 4: Turning on encryption and entering a network key |
Congratulations! You have successfully configured the WiFi settings on your FRITZ!Box router.
To connect your computer to the network, please refer to the following guides:
Further Assistance
If you are looking to set up your Internet or NodePhone VoIP service, please refer to the following setup guides:
If you are having trouble setting up your router, or would like to clarify some of the steps, please contact our Support Team.